In our SOC we use Pi-hole to block network ad-serving domains. Benefits of Pi-hole are highlited on their web site
- Since ads are blocked before they are downloaded, your network will perform better
- Network-level blocking allows you to block ads in non-traditional places such as mobile apps and smart TVs, regardless of hardware or OS
Pi-hole works on Linux systems and for home usage is common to install it on a Raspberry Pi device.
This is my jurney into installing Pi-hole on my Raspberry Pi.
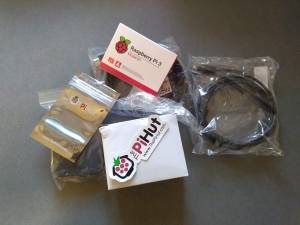
First I bought a Raspberry Pi 3 B+ from The Pi Hut web site; I choosed to buy the Pi along with a full starter kit because I’m very lazy; of course you can buy each component separately and save money.
The starter kit includes
- the microSD with the NOOBS (New Out Of the Box Software) image pre-loaded (is ok for beginners like me). You can also download other images and install it
- the power supply (5.1V, 2.5A)
- a case for the board
- ethernet and HDMI cables
The first step is to put your Pi into the case; the case is well designed and is very easy to do this task; remember to insert the microSD in the slot on the back of the board (spot it on last image).


You are ready. Connect USB keyboard & mouse, connect the HDMI cable to a video, power on the Pi and follow the on-screen steps (I choosed to install Raspbian Strech with desktop).


15 minutes to have your Pi up&running 😀
After the installation (that includes update process) I made some tuning before Pi-hole installation.
I reserved a static IP address to the Pi; is mandatory if you want to use Pi-hole.
You can do this by reserving an IP on your DHCP home server (create a static lease between the IP and Pi MAC address) or by assigning a static IP address not in DHCP range (details here).
In the second case append at the end of /etc/dhcpcd.conf file the following lines (adjust the values as per your home network config and set the appropriate interface)
# STATIC CONFIG for wlan0 interface
interface wlan0
static ip_address=192.168.x.y/24
static routers=192.168.x.z
static domain_name_servers=8.8.8.8
Using the Raspberry provided tool raspi-config (details here)
sudo raspi-config
I made following config
- changed the default password (raspberry) for pi user (Pi is set to autologon as pi user). To do this select option 1 “Change User Password”
- enabled SSH access, that is disabled by default. To do this select option 5 “Interfacing Options” –> “SSH” and set to enable
- disabled autologon and desktop interface. To do this select option 3 “Boot Options” –> B1 “Desktop / CLI” –> B1 “Console” and choose this option

I suggest to reboot and test the IP address config and SSH connectivity.
We can now install Pi-hole. Is quite simple; from terminal execute the commands
sudo su –
curl -sSL https://install.pi-hole.net | bash
Set the binding interface (in my case wlan0), the remote DNS to be used (from the menu) and save the generated admin password.
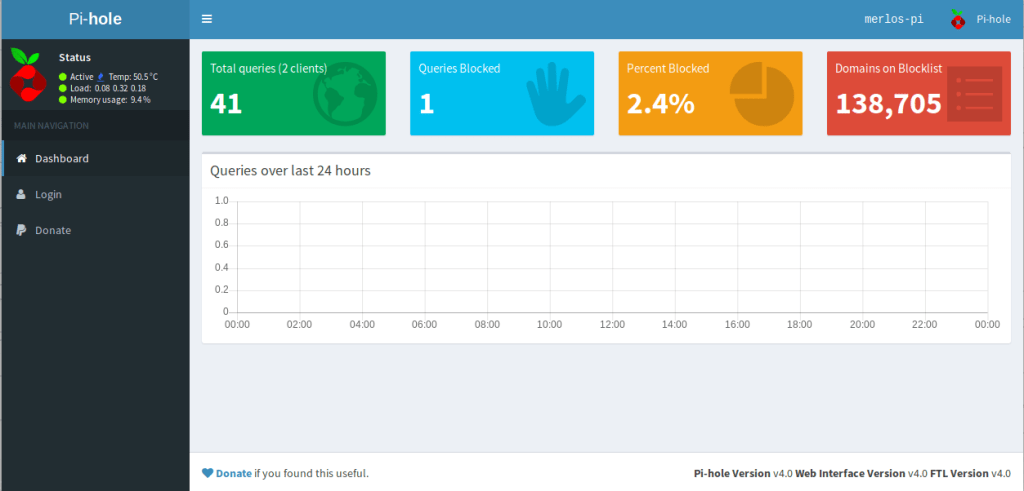
Then access your Pi-hole web interface
http://pi.hole/admin
http://<YOUR_IP_ADDRESS>/admin
Adjust now your DHCP server settings and set your Pi IP address as internal DNS; adjust static configurations too, if you have any.
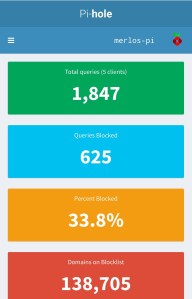
From now Pi-hole will do his job, and it’s a great job.
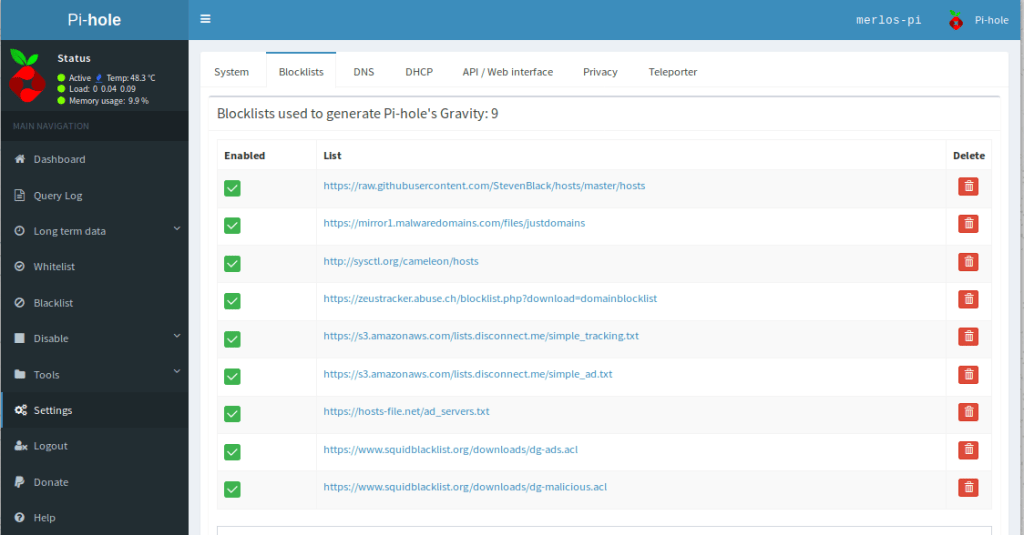
You can add more URLs to the blocklist (from Settings –> Blocklists); tks to Andrea Draghetti for the following
https://www.squidblacklist.org/downloads/dg-ads.acl
https://www.squidblacklist.org/downloads/dg-malicious.acl
Last but not least donate to the project
Some link to go deeper on the topic (italian):
- Luigi: CONFIGURARE UN PI-HOLE PORTATILE
- Gabriele: VPPN: Virtual Private “Pi-Holed” Network
