First of all I recommend reading this blog post from Simone evilsocket Margaritelli that is – imho – one of the best comprehensive guides to Android applications reversing, of which network analysis is just a part.
In my post I will present 3 different methods I used to understand the network behavior (the focus is on network analysis, nothing more) of an Android application I analyzed:
- using an HTTPS interception proxy;
- MITMing the network traffic;
- profiling the application with Android Studio.
Everyone can use the method they want (some simply may not work in your scenario), the results of the analysis are the same; the method you’ll choose depends on the scenario you are testing, the software you are used to working with and so on.
Consider that the first two methods can be used to inspect the traffic from any application/program/device, not only an Android application.
HTTPS interception proxy
In this case I set-up a SSL/TLS Squid proxy as shown in my post.
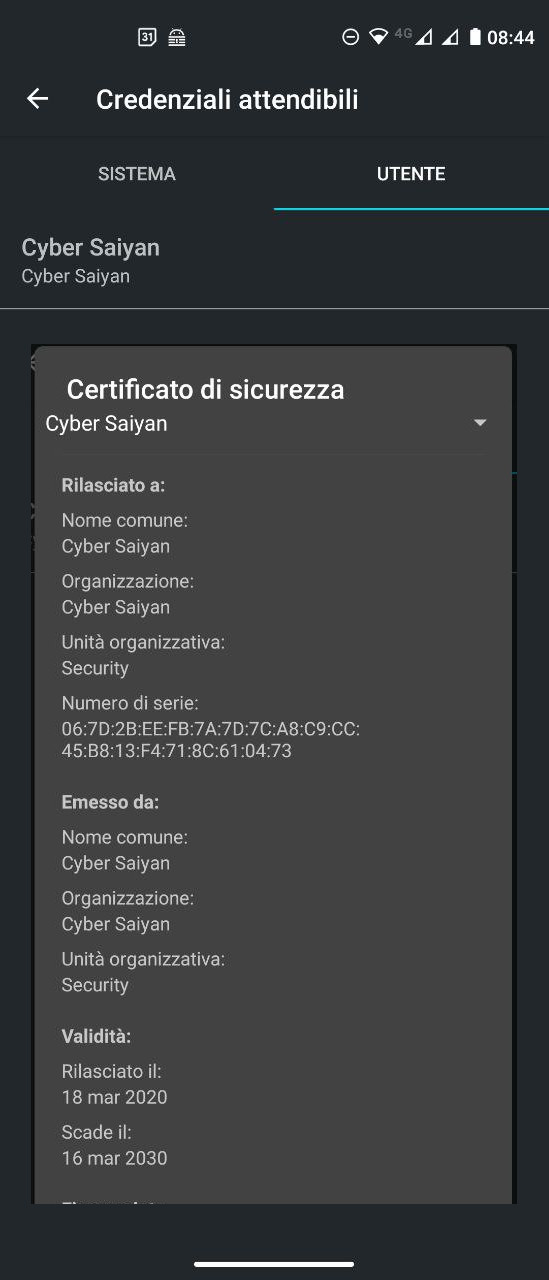
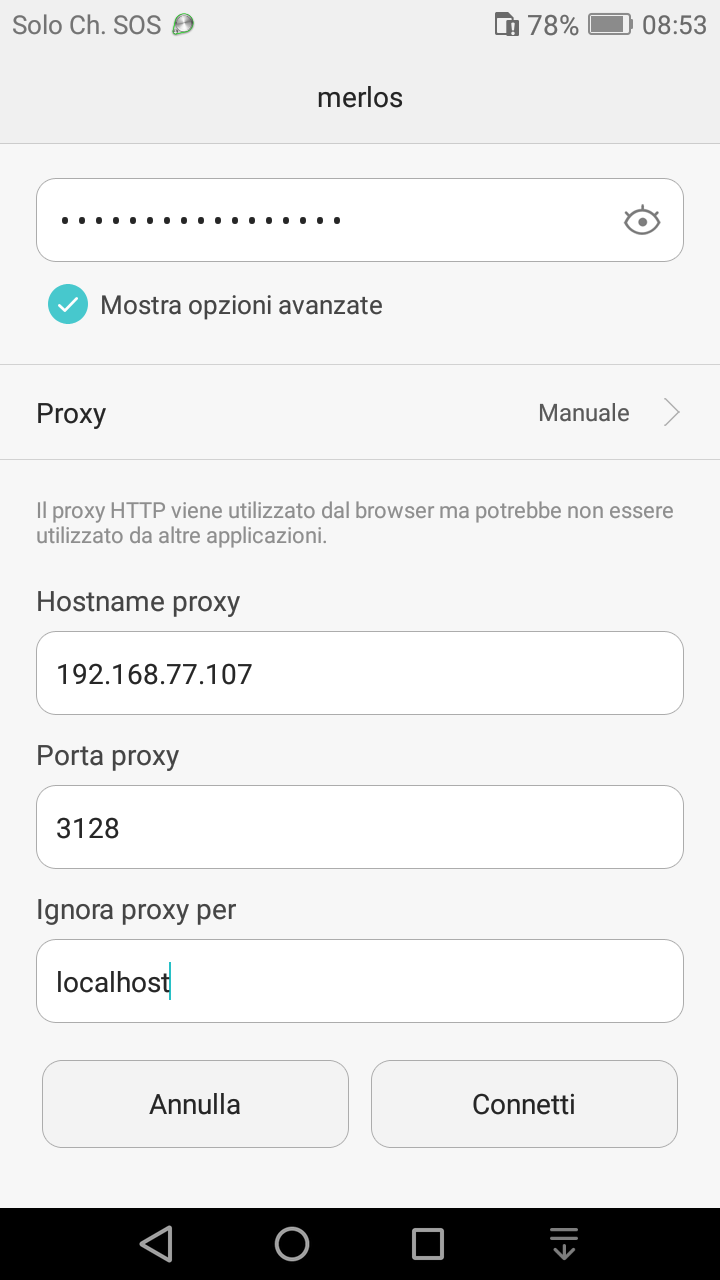
It was fast and easy and I just had to import the X.509 certificate into the Android CA store (User certificates), set the proxy for the Android wireless connection and started using the application.
If the application correctly (and hopefully) uses key pinning we will not see HTTPS traffic details (other than the SNI during connection setup) and the application won’t work.
Few apps implement key pinning and this means that we will log full HTTPS URI and we will have the complete connection map.

MITMing the network traffic
If we can’t/don’t want set a proxy on the phone/app/whatever we can try man-in-the-middle the network traffic.
To do this I used bettercap, the same method evilsocket (that incidentally is bettercap author) used in his post. I share my setup, using version 2.28 (on his post Simone used version 1.10).
I ran a bettercap docker image as follows, mapping ~/bettercap-root/ local dir to /root/ container dir to grant persistence across container stop&start (mostly for HTTPS certificates, see later).
# pull bettercap container
sudo docker pull bettercap/bettercap
# make a local dir for persistence
cd ~
mkdir bettercap-root
# run the container mounting local dir in the container
sudo docker run -it --privileged --net=host --name bettercap \
        -v ~/bettercap-root/:/root/ \
        bettercap/bettercap
On the bettercap console:
- I updated the caplets;
- I enabled net.sniff module to sniff the network traffic:
net.sniff.verbosesetfalse: only application layer parsed packets (sni, http, etc) are shown;
- I enabled http.proxy and https.proxy modules to start HTTP and HTTPS transparent proxies:
https.proxy.scriptset to/app/http-req-dump/http-req-dump.js: this is the script used by http-req-dump caplet to dump HTTP&HTTPS requests;
IMPORTANT: if we don’t set a proxy script we will see only the SNI hostname for HTTPS connections, not the full URI- when the HTTPS transparent proxy is started, Certification Authority TLS certificate and key are generated; we can find it on our local directory
~/bettercap-root/and we can replace with our own; then import CA certificate;

- I enabled arp.spoof module:
arp.spoof.targetsset to the application/program/device IP address.
Below you can find the bettercap commands to paste in the console
caplets.update

set net.sniff.verbose false
net.sniff on

set http.proxy.sslstrip false
set http.proxy.script /app/http-req-dump/http-req-dump.js
http.proxy on

set https.proxy.sslstrip false
set https.proxy.script /app/http-req-dump/http-req-dump.js
https.proxy on

set arp.spoof.targets 192.168.0.126
arp.spoof on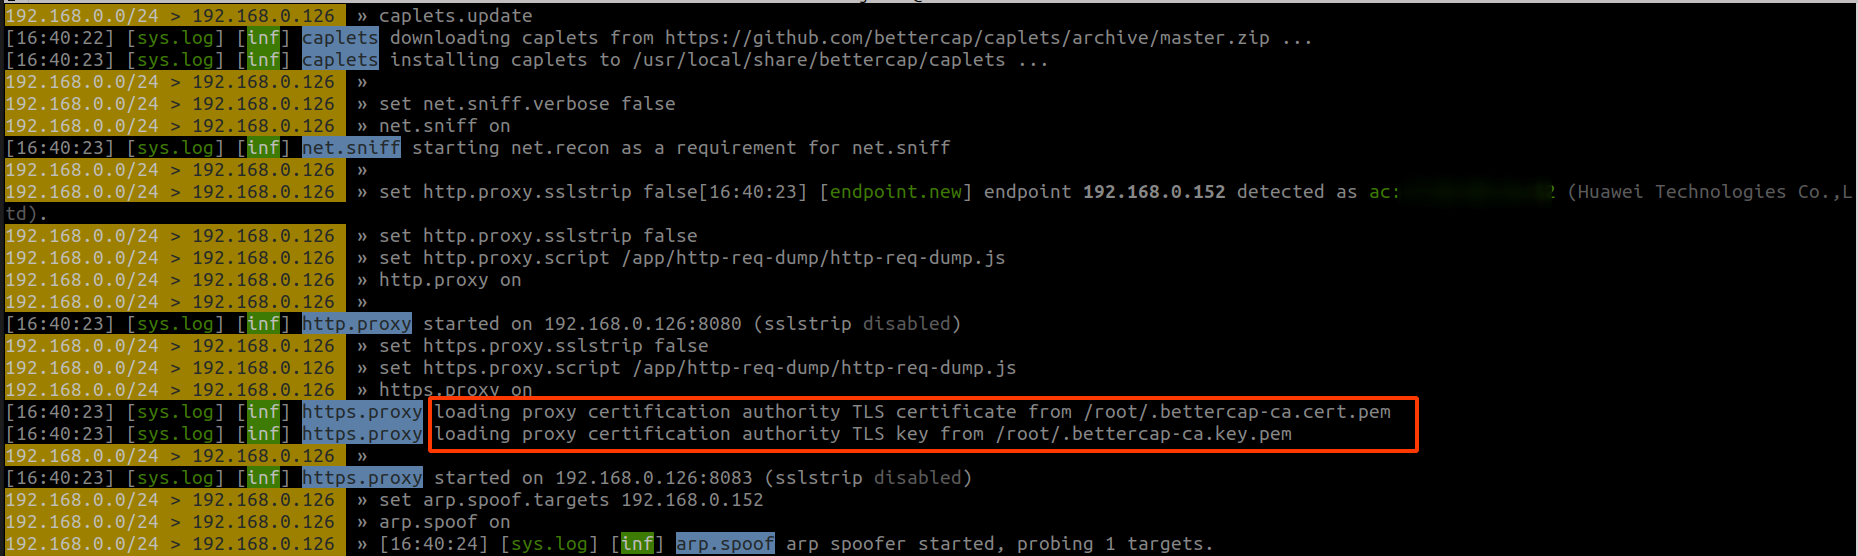
Same here: if the application correctly (and hopefully) uses key pinning we will not see HTTPS traffic details (other than the SNI during connection setup) and the application won’t work; otherwise bettercap will log full HTTPS URI (inside the requests) and we will have the complete connection map.

ATTENTION!! If our network device is configured to protect against ARP spoofing this method is ineffective.
Profiling the application with Android Studio
Last but not least Android Studio can be used to profile Android application’s network connections:
- install adb:
sudo apt install android-tools-adb; - download Android Studio and:
- extract the
.tar.gzin~dir; - run
android-studio/bin/studio.sh.
- extract the
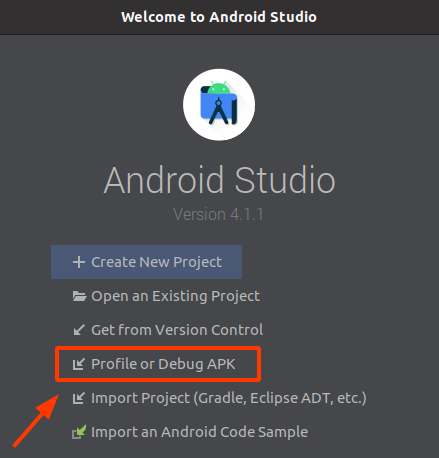
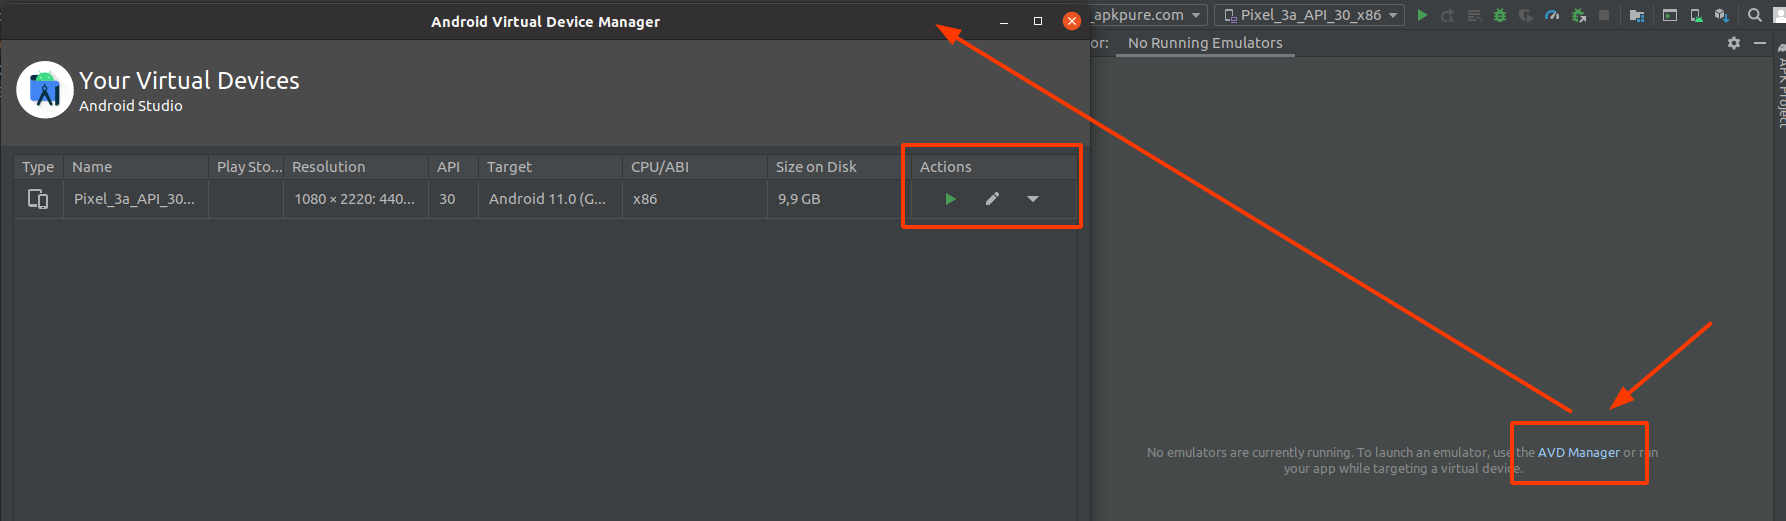
We need the APK file – get it from apkure.com, other similar web sites or via adb from the phone – so we can open it in Android Studio (Profile or Debug APK); then we need to show the Emulator panel, clicking on View –>Tool Windows –> Emulator .
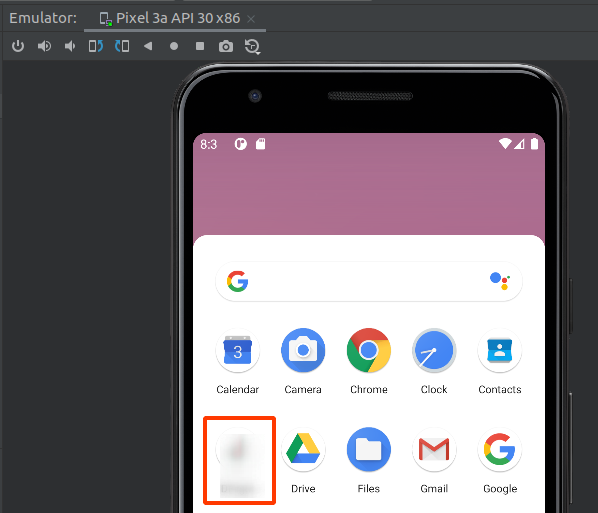
We click Adv Manager link in the Emulator panel to open the Android Virtual Device Manager window. Clicking the green arrow (play action) starts the emulator with the app installed in it.
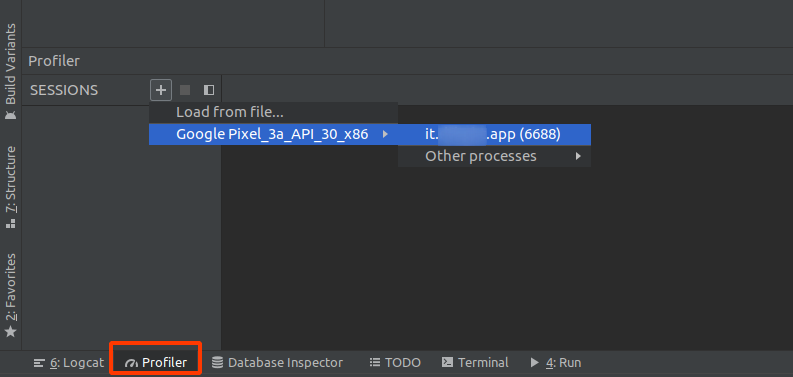
We start our target application in the emulator then – on the bottom left – we click on the Profiler tab to start a new session that targets our process. Then we click on the NETWORK row and highlight the timeline to look at the details.
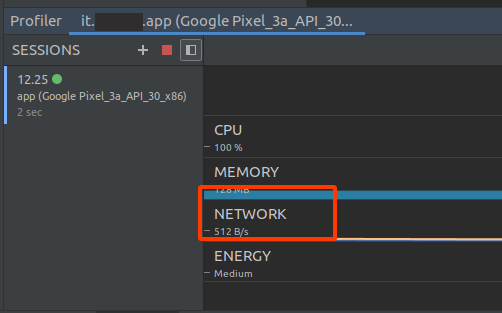

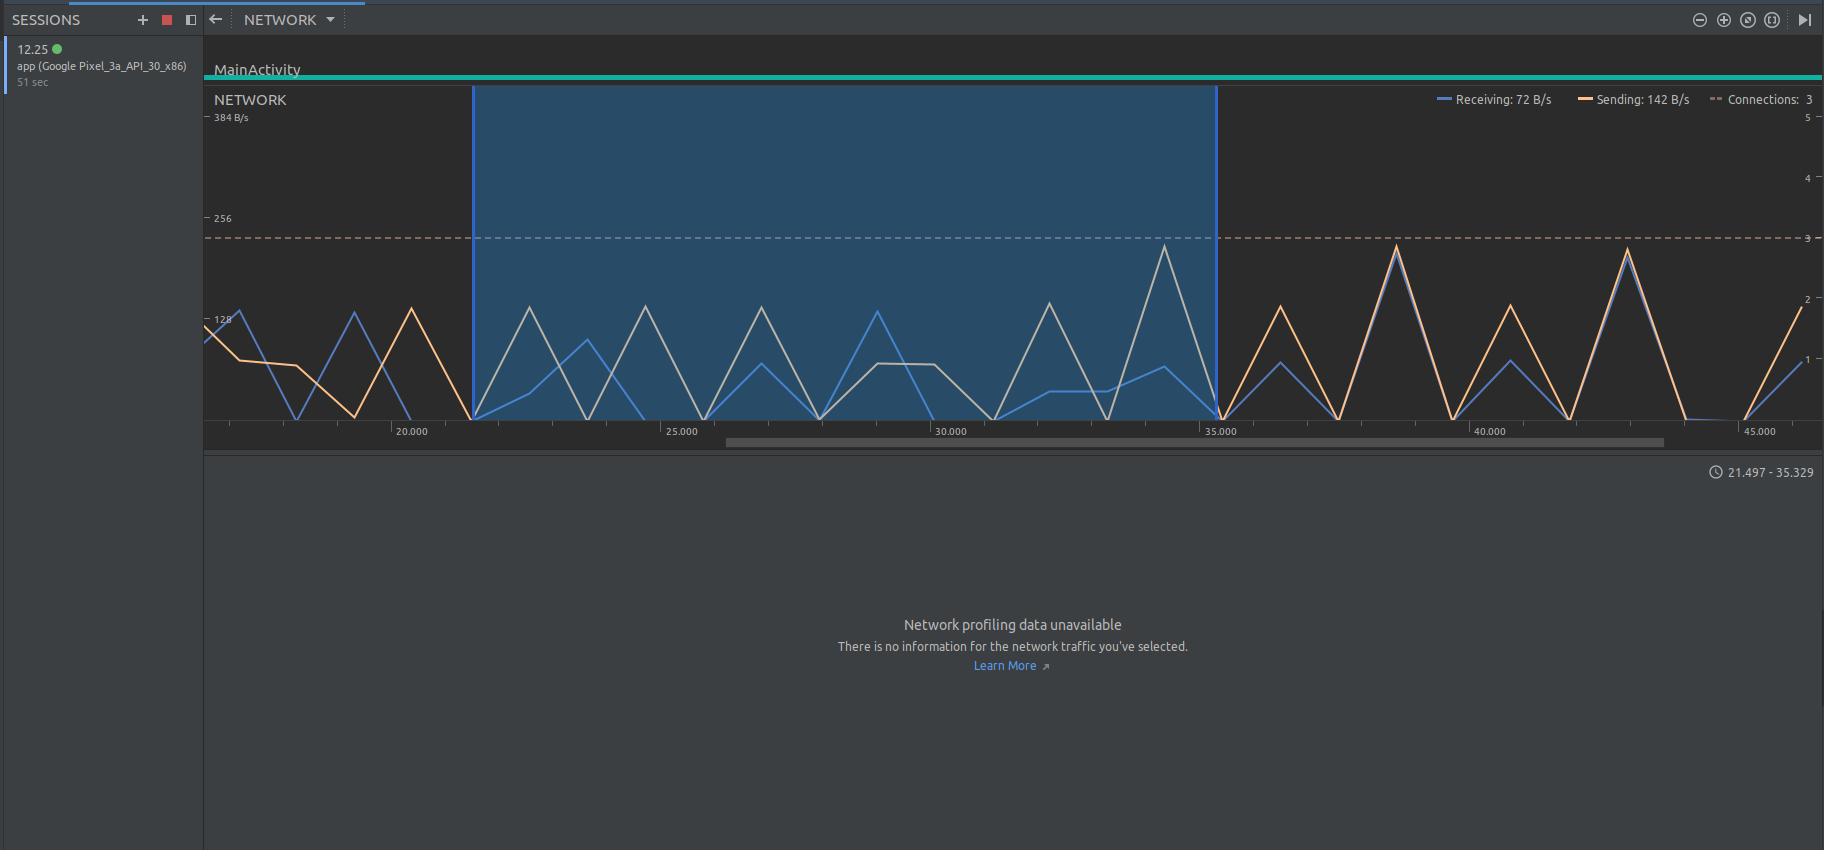
In my case I don’t have network traffic details (Network profile data unavailable message); this is a known behavior, read why it’s happening.
Currently, the Network Profiler supports only the
HttpURLConnectionandOkHttplibraries for network connections. If your app uses another network connection library, you may not be able to view your network activity in the Network Profiler.
If the application uses supported libraries we will have lots of details and the complete connection map.
Happy hunting!
